Showing posts with label Toddler Art Lesson. Show all posts

Wednesday, 6 January 2016

New Year New Lesson Plans

Welcome to 2016! I hope your holidays were lovely however you chose to spend them.  Mine were a bit of a whirlwind combined with a good dose of decompression. I spent one really lovely day alone at Artspace making more ink from dried out markers and cutting down and organizing the painted paper stack. We are ready for a term full of collages and intermittent ink washes.

School is back in session and so is Winter Term at Artspace.

This term I've planned ArtSparks and Arts Enrichment lessons that will focus more on fine motor skills in tandem with art exploration. Because I've got two classes of Arts Enrichment (and a possible second class for ArtSparks if registration picks up).

I've planned a single lesson plan for the classes but instead of repeating the same lesson twice each week I'm going to try teaching from both ends of my lesson plan. What this means is that the first lesson of the term for my Tuesday class will be the last lesson of the term for my Thursday class. There will be a lesson that overlaps in the middle of the term but 99% of the lessons for each week will not be repeaters. If there wasn't a student that is registered for both days I wouldn't bother but I have one of those and I want that student to be engaged with the lesson for both classes.

As an added challenge one of my Enrichment students is accompanying a sibling to an artsparks lesson which means that I'll be working towards making sure that they aren't doubling up on the same lesson each week too.

The first lesson of the term was an exploration in tracing, texture rubbings and painting. Here are a few examples.

How are your lesson plans shaping up?


Friday, 18 December 2015

lines

our last Artsparks lesson focussed on monotone and complimentary colours,  lines and stamping. We used bingo daubers, matching oil pastels and complimentary watercolours with black paint stamped and rolled over top.


Thursday, 10 December 2015

Shaving Foam Puff Paint

In the past I've used homemade puff paint to make snowmen, and the earth. My fellow art teachers at Artspace have made polar bears, ice cream cones and cupcakes.


To make the paint you mix equal parts foam and glue. Some would say this is easy and on paper it is. However I've never quite gotten the measurements exact what with the expanding nature of the foam. I eyeball it and mix it as best as I can. At Artspace we've used liquid tempera and also gel food colouring to the mix to create marble colours and full on tints.


I just love how each of the snow men created have their own personality. 

which leads me to the discovery I made last year when I had my little explorers make earth in space one of my artists scraped away some of his puff paint from the circle we were painting into earth. The paper was beautifully marbled. with this in mind I created another shaving foam paint lesson for the next lesson that focused on making those marbled masterpieces. I'll be making use of the left over paint this morning for that very thing. I'll post with those soon.

Saturday, 28 November 2015

Frosty

Usually around the end of November I start thinking about wintery art lesson themes. No exceptions this year on that. Last winter I found a recipe for making frost paint. It's a hit or miss project that has good results even without the frost succeeding.

I'm cooking up a lesson alternative this morning and when I come back later this afternoon I'll share the results.

after:

Jury is still out on the frost,most of the paintings that were nearly dry at the end of the day had a lovely granulated effect but now frost patterning. The really wet ones have possibilities.


Sunday, 8 November 2015

Mono Print Finished Art


While mono printing with this technique is an excellent invitation for parents to collaborate and create art together (without highjacking the work all together) only one of the images here is a true collaborative effort.* The rest of the singles I'm featuring were 100% the work of my young students. For the most part at the Toddler and Preschool age, images will be abstract shapes that kind of look like what the students will tell you they are drawing. Sometimes there are young artists that are very good at drawing what they see. In either case they are amazing.


For this lesson we drew on our printing paper with water resistant crayon or oil pastel, Students could trace the general outline of shapes onto the acetate sheets we used as mono printing plates, then flip that image over and then add colour with water soluble marker to the other side of the acetate.  We flipped the outline over so that the colours added to the image when we printed would match up with the drawing, other wise everything would be opposite.


While the colour was being added we soaked our paper in a water bath so that the images in marker would transfer onto our paper. When we were ready to print we used a squeegee to take away any extra moisture from the paper: The image transfers best when the paper is damp and not shiny wet.


*The group shot also has extra examples of collaborative parent child art. The cupcakes, butterflies and cats are parent participant art. The rest, including the animal face with the pink nose featured above; were all done by the children alone. 


Friday, 6 November 2015

Monoprinting with Younger Artists

I posted a time lapse the other day in anticipation of the start of a multi class lesson plan.

Here's another in anticipation of introducing or re-introducing as the case may be mono-printing to my preschool and toddler classes.


Monday, 5 October 2015

Dragons and Sunflowers for Swords


Last year the Art Sparks and Arts Enrichment classes did a project based on Perfect Square; the book I read with my Art Exploration Students on Saturday.

I make an effort to keep lesson topics fresh and to revisit techniques instead of subjects so instead of continuing with the same book for today and tomorrow's lesson I introduced The Sunflower Sword by Mark Sperring and illustrated by  Miriam Latimer. I built a Dragon Themed birthday party around this book last year which was a big hit. Today I focused on the spread in the book that had the dragon flying over top of a giant field of blooming sunflowers.

In my garden I have a lovely patch of sunflowers this year. The bright yellow petals surrounding the smaller blossoms set out in a Fibonacci spiral are beautiful in and of themselves. Adding a dragon to the composition is a full on winner with my own little artists as well as the artists in my classes.

We started with an application of yellow and orange paint with sponges and also foam shaped stamps. I then instructed my artists to add the brown centres of the flowers with a round brush. The opportunity to bled the brown paint provided with the still wet oranges and yellows was taken by a handful of artists in the lesson and the brush work they used added energy  and interest to their compositions. A few other artists were more interested in precise application of the brown and others were more interested in applying the yellow and orange and only a small amount or no brown was added at all. Our next step was to use scissors and painted paper scraps to cut out the shapes to build our own dragon. The dragon was glued onto our under painting and a final addition of a googly eye ( or three, or five or two) was added.

Regardless of what steps were taken or left out in the process each of my young artist friends learned a little bit about texture, pattern and shapes today. It is always really fascinating to see the ideas of children this age emerge onto paper.

Once the finished works are dry I will post some examples.


Saturday, 3 October 2015

Perfect Square


This time last week I was steeling myself for the possibility of only one class on Saturdays and I am pleased to now have two sessions of Art Exploration classes for two age groups Saturday mornings. Art Exploration as the name suggests an exploration of art materials and elements for toddlers and a caregiver and for children aged three to five. Last week we explored oil pastels and paint on paper with leaves. This week we're looking at things from the shape of a square

A few years ago I was in the library looking for a picture book that had a focus on circles for my very first art class at Artspace. While looking for a circle book I saw sitting on the shelf a book about a square. I of course picked up this book and brought it home all the while wishing that my lesson was about squares (because back then I was a little more rigid with my lesson plans; I was a new teacher and very far out of my comfort zone so keeping within my plan was all about coping). This Saturday class will be based on the illustrations in that book and that book is called Perfect Square by Michael Hall.

In the past I've taught this lesson in two parts. Students would paint a rainbow onto mixed media paper and then in a second class the paper is transformed with scissors, folding and cutting into a picture that has it's inspiration from one of the pages in the book. This time around, because we have an abundance of pre painted paper at Artspace we'll be creating our art from the stock of painted paper. Focus was on choosing papers that appeal to the artists, composing an image onto paper and practicing scissor and glue skills.


The purple pieces were done by my toddler artists. Each one of the artists was fully engaged in the process of the art today. During the lesson I was talking abut how focus in the  lesson is getting engagement from our artists and not looking for anything specific within a composition, I went on to say that often allowing the freedom to engage with the materials brings out some very amazing finished artworks. Today's lesson illustrated that point to a T. Each of the artists in the toddler class was allowed to compose their image with very little involvement from their caregiver. My favourite parts of the lesson was watching the thinking process in where things were placed on the page. In all cases the artists made very specific and engaged choices for their work and it shows.

The Blue backed art was done in the Preschool class. In this class we had the same focus and engagement. Each artist approached the project in very different ways. From the deconstruction of the backing paper into a new shape (which referenced our inspiration book) to the minimalist compositions and the compositions that used multiple layers and or broke out of the image frame. I was very pleased by the outcome of each class and love that I get to share the work here with you.


Friday, 2 October 2015

Friday Book Round Up


This week I referenced two books for my balloon painting lessons. 


I'm a very big fan of Peter H Reynolds' books for their art inspiration. His illustrations remind me strongly of Illustrator Quentin Blake of Dr Seuss Great Day for Up! fame. But it's not just nostalgia for one of my favourite books as a kid that I like. It's the stories that he tells in his books and how they promote being creative, thinking outside the box and being an artist. I have added three books from Mr Reynolds' bibliography to my own book collection. I've mentioned that I don't often buy books unless I really love them and these certainly fit that criteria. Rose's garden isn't in that bunch yet. I ran across this book while researching for this weeks lesson and as soon as I saw it was a Reynolds' put a hold on that baby. I was not disappointed. 


http://www.biblio.com/book/planting-rainbow-ehlert-lois/d/543053532


In addition to loving Reynolds Ehlert is another go to favourite author illustrator for both bedtime reading with my children and for art lesson inspiration. my kids often pick up a Lois Elhert (both illustrated and authored and illustrated) book from the library as one of their free choices. Her cut paper shapes and the bright colours lend themselves to preschool and toddler art lessons especially because the shapes she cuts are both engaging and simple. One of my favourite Elhert title is Hands: Growing up To Be An Artist which is an artwork in itself. 

If you're interested in either of these books click on the image of the book and find yourself at Biblio.com an independent book selling website or visit your local indie bookseller and buy your copy from a real living breathing person. Also feel free to visit Amazon.ca (or.com)to find the book you're looking for.By preference I try to buy from independent book sellers but I  also know that sometimes convenience and price are better if you have a tight budget.

Monday, 28 September 2015

Week Two: Zinnia's and Balloons


It's week two and I'm anticipating the joys of balloon painting with my young artists. The cold I caught from one of my preschoolers has left me with a drippy nose and a scratchy voice. I didn't help this when I stayed out a little later than usual yesterday to see the lunar eclipse but it was worth it.


The technique I taught today and tomorrow is one I found on Pinterest and immediately tweaked. It has a big "wow" factor with the young ones and lends itself really well to certain subjects; flowers for instance. The Pin I first saw this technique used in was a take on Eric Carle's Hungry Caterpillar.  I love Eric Carle, some of my favourite projects are created with painted paper and collage. I think his paper collages are very distinctive and wanted to try something different in my own classes so I came up with a theme that I thought suited the technique even better and allowed for a little discussion about colour theory and of course the use of a varied and interesting colour palette.

Last week we collaged and painted leaves; very suitable for autumn. This week I'm bringing in some of the zinnia blossoms from my garden and blowing up balloons for the students to paint with. This lesson works best with a contrasty selection of paint in each tray and I do find that I have to impress the importance of not squeezing the balloons while painting to the students (otherwise: POP). I also find that it's a good idea to have a few extra balloons ready just in case. I have a hand pump to blow them up before the lesson begins. While we are on the subject I also try to blow the balloons up at most about 1/2 the capacity. This makes them easier for small hands to grasp, easier for transport inside the studio and also makes them less likely to pop. I have in the past used water balloons for this lesson with good success but the smaller balloons are also thinner and more likely to pop unexpectedly.


My co-teacher for the Artsparks class read the book Planting a Rainbow by Lois Ehert to our young artists and their caregivers and then once a short break had been taken and snacks consumed my class joined me in the art studio. Gree paint was used for grass and stems and then I had my young artists stamp their balloons into the marbled paint and then onto the paper. the wow factor happens when they see the colours transferred from the balloon onto the paper. The excitement from the ballon painting was felt throughout Artspace. As a final step white glue was applied to pre-drawn styrofoam stamps and a dusting of fine glitter was added to the tacky butterflies, caterpillars and bees wchich got this lesson a super double wow ovation.

When I left after clean up the art was still drying. Once it's hung I will follow up with images of the student's art.

The Really wonderful thing about this class is that all the caregivers are very open to letting their children, grandchildren and friends explore the materials in their own way. Of course there are small nudges here and there to remind our small artists what was said in the demonstration but the final work is always very much the work of our little artists.


 I use balloons for paper mache projects at Artspace as well a painting tool. Usually I save paper mache for week long camp lessons so that there is enough time to add a good number of layers. If you use balloons in your lessons let me know how they work out; if you have tried something different please share.

Monday, 21 September 2015

A Leaf Can Be

Today was my first class of the fall term at Artspace.  Artsparks is a parent participation class that combines music and movement with visual arts. Today we used a wet on wet technique to create trees with our hands, water and droppers of brown paint, sponges to lay down grass and sky and tissue on clear adhesive sheets to give our trees some fall foliage.

My sample piece for the lesson is to the left. My students did each step except adding a yellow sun and their art was so well done. I know what toddlers can do when it comes to making art; in case you want to know it's make art that professional artists work long and hard to replicate.

Students sprayed their arms and hands to make them very very wet. They then took droppers filled with brown tempera and dropped the paint into the wet areas of their paper. This created their tree trunk and branches.


Using sponges my students applied blue, white and purple paint to make a sky around their tree and yellow and green paints to lay down some grass beneath their tree. once the paint was applied we set the paintings aside to dry while we made the foliage for our trees.


Students placed leaf shaped tissue onto a lear adhesive sheet. The backing of the shelf liner that we used to collage our foliage onto is saved for use in a future lesson. All the instructor's at Artspace feel that reusing, repurposing and recycling is super important. If we can save something for another day it gets put into the back room. Once the smaller leaf shapes were placed down we used glue to layer larger tissue shapes onto the adhesive sheets. We then took the sheets and placed them collage side (and also adhesive side) down onto the branches of our hand shaped trees.


As a finishing touch red apples were added by stamping red paint onto the trees, on the ground and wherever my little artists wanted to.
I know I shouldn't be surprised by how amazing their creations are but I always am. I should also mention that I have very high expectations for my young artist friends. After all I am always striving to make art just like they do.


With this age group I'm more interested in engaging my students with the materials than I am with how much like my sample piece their project looks like. In fact because this is a caregiver participation class I find that I am often helping to teach the caregivers how to let their charges take the lead. Sometimes that can be more of a challenge than the art itself. At the end of the lesson what we really want is for our young artists to have had fun, gotten messy and to be really excited by what they made. As a first lesson for a lot of my students today it was a pretty good success for everyone. 

Sunday, 20 September 2015

Fall Term Begins

I am an artist. I teach art to children aged 2 up to tweens (and older if the opportunity arises).  I have a bachelors degree in photography and I create things in one form or another most days. As of tomorrow I'm starting my third year of teaching at Artspace Children's Art Centre a unique arts centre that offers inspiring visual and performing arts programs for children aged 2 to 13 in the lower mainland of British Columbia.

This year I'm doubling my teaching schedule. In addition to painting and drawing for school aged children and art exploration classes for toddlers and preschoolers I'll be teaching the visual arts section for the two combination visual arts, music and movement classes for toddlers and preschoolers. I'll be adapting some of my previous and current lessons for these classes.


I used to blog frequently up until a few years ago when the demands of a new baby with a child beginning school took away a lot of my blogging time.

Then came the teaching gig at Artspace and instead of blogging I was teaching myself how to create a good lesson plan with enough flexibility to add or remove steps and still have a creative and fun class for the little people in my classes. I would love to say that I have got that all down pat, that I can plan in my sleep and that walking into the art studio that will soon fill with small faces with and without their faces is a breeze; but I'm kind of glad that it isn't the case. I say this because the nervousness and anxiety is a big part of the process. I use that uncomfortableness to prod me to really research for inspiration and then create some really great lessons. Like the ones pictured here.

Like a lot of art educators I peruse the art lesson plans pinned on Pinterest to get inspired. For the first few terms (and I'll be honest here) even now I like to glean ideas for lessons from the Internet. In fact I plan my lesson plans on Pinterest boards so that I have a visual reminder of what I have planned for each lesson. More often than not I end up changing my lessons at the last minute because I've seen something that has excited me. Over the course of the last three years I've created some pretty awesome lesson plans. The best ones have all had a specific artist as a jumping off point instead of another instructor's lesson. Again as an example, the images I've posted here were lessons I created after looking at the drawings of UK artist Antony Gormley. The anatomy themed project perhaps more directly so than the map but both projects make use of the same process and both lessons elicited a very satisfying chorus of ohhhhhs  during the lesson.


These classes use a wet on wet painting method that allows the paint to flow only where the paper has been previously wet with a brush. In the anatomy painting the figure was lightly drawn then painted over with water. I had my students drop black alcohol ink into the wet areas; the ink flowed only where the paper was wet. The same technique was used with the maps, the water areas on the globe were filled with a good layer of water and blue ink was dropped into those ares. a second wash of water was added for the brown outer areas.

The reason I'm posting about this technique here today is that my first lesson tomorrow is going to make use of it. The two lessons shown above were done with grade 5 and 6 students and were quite involved lessons. Tomorrow's lesson is a thirty minute class with toddlers and their parents and caregivers. I'll be reading A Leaf Can Be by Laura Salas and illustrated by Violeta Dabja.

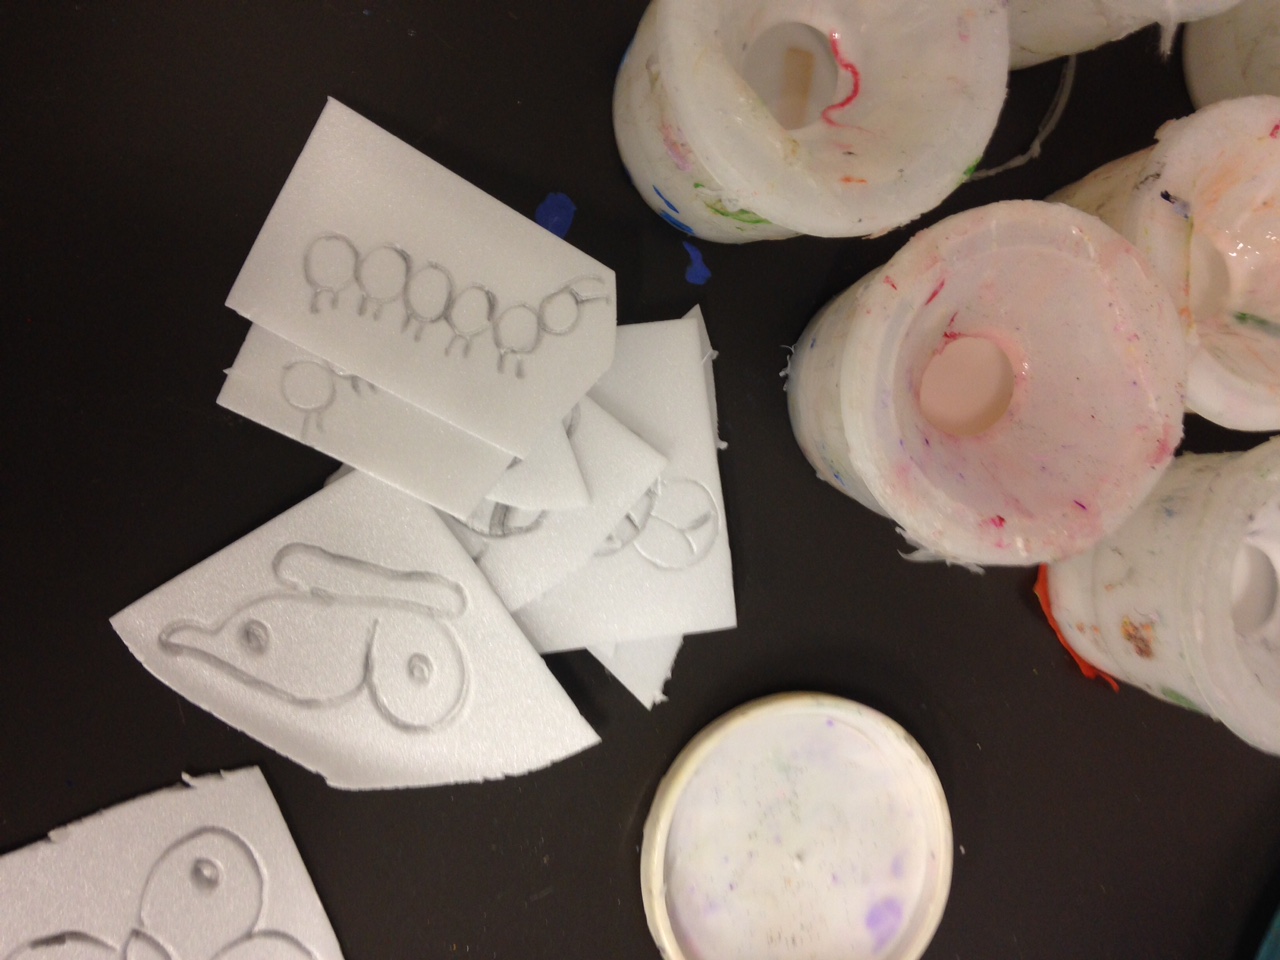
With preschool and toddler's I always start my lesson off with a picture book. Sometimes the lesson will be based on the illustrations and sometimes the book is used to get my little artists thinking about their subject for the day. While Violeta Dabj'a illustrations are simply beautiful; tomorrow's lesson uses her beautiful work as a glancing jumping point. I'll post a more thorough description of tomorrow's lesson which will include a variation of the wet into wet technique as well as sponge painting and tissue paper collage; all combined to create some tree art with fall foliage.

The plan is to post the lessons I've taught to my students here with the book I'm using for each class and the artist or art teacher who inspired the lesson. I've got a goal to have all my lessons created by myself rather than borrowed from another lesson I've seen. There are some amazing art teachers out there who are happy to share their lesson plan ideas. I want to be one of them.